Add a new Tag or User Code
Step 1
To login to the Master Manager menu, press D followed by your current code.
Step 2
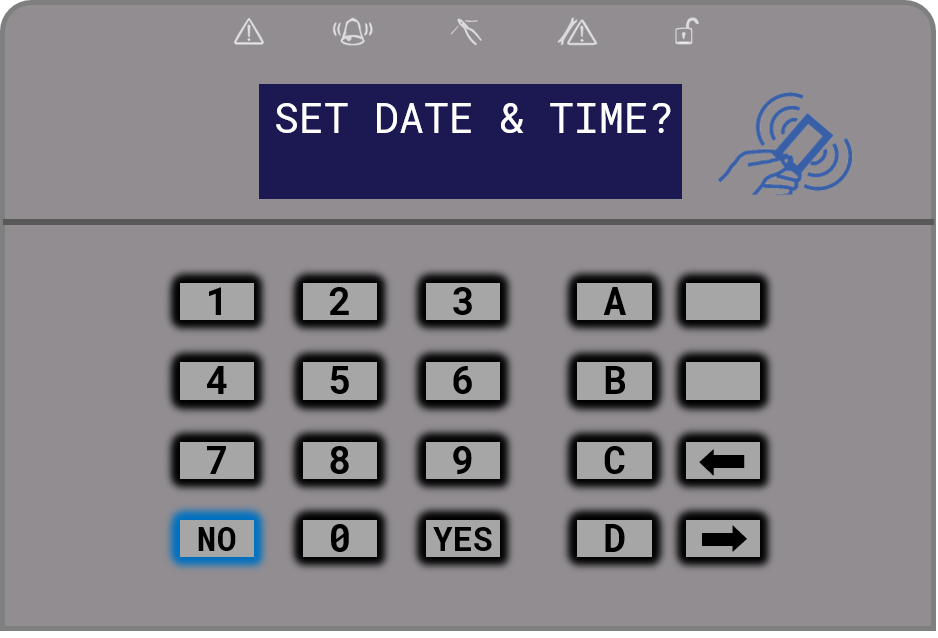
Use the NO key to scroll through the menu until you find EDIT USERS? If you accidentally pass this
menu option, don’t worry as the menu will keep looping around.
Step 3
Once you reach EDIT USERS?, click YES. You will now have entered the Edit Users menu.

Step 4
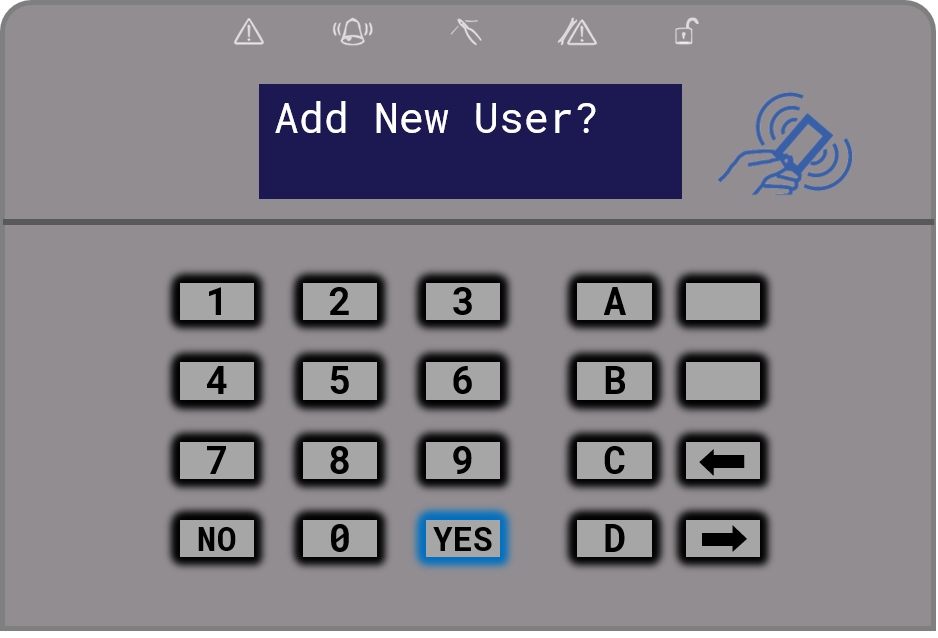
Add New User will now be displayed. Click YES.
Step 5
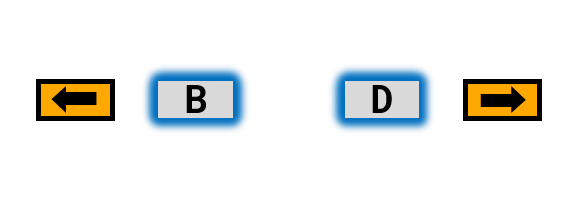
Use the LEFT and RIGHT arrows to choose an available user number. Press YES to add the selected user.
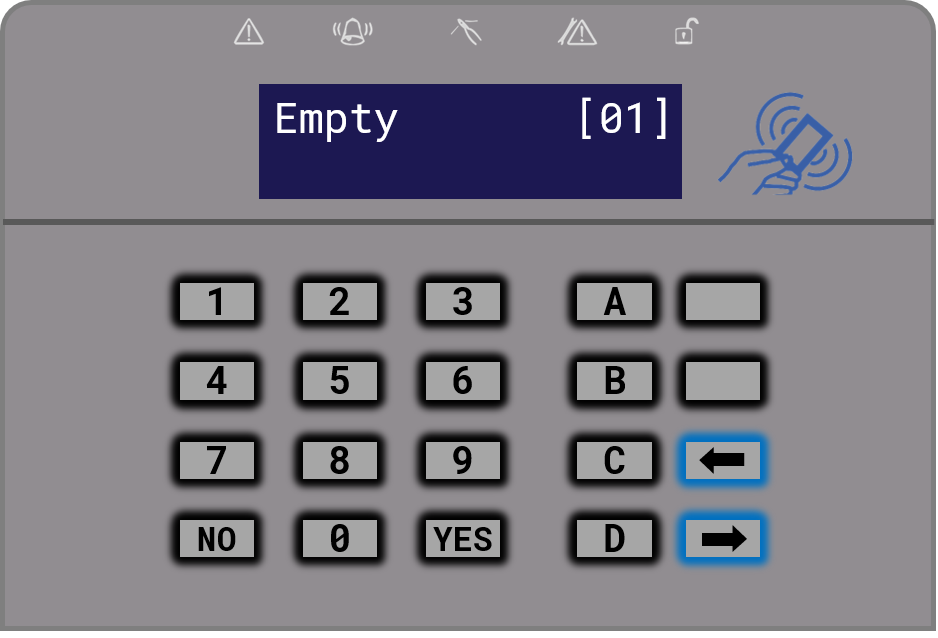
Your keypad may not have separate arrow buttons. Please see the image below.
Step 6
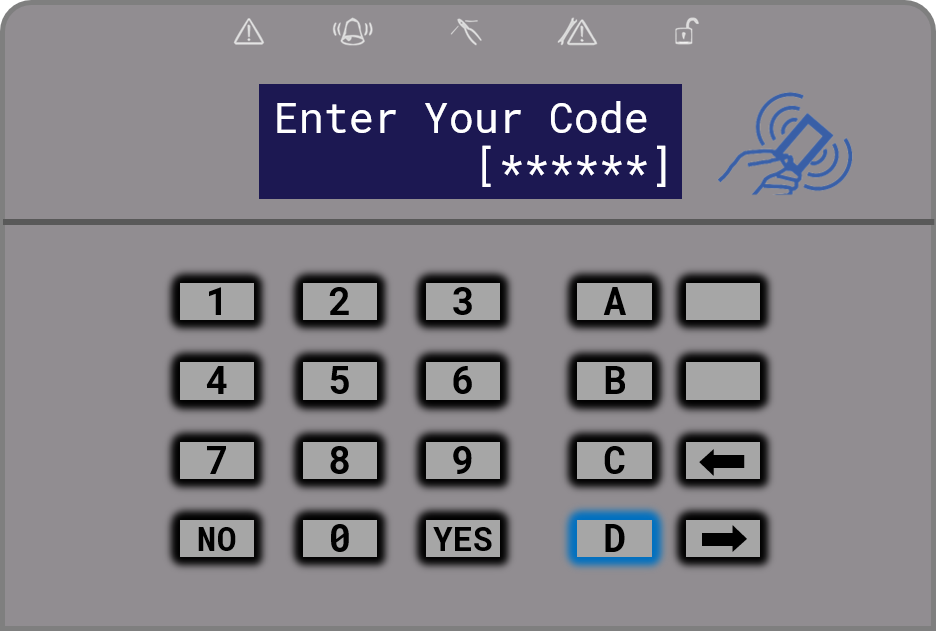
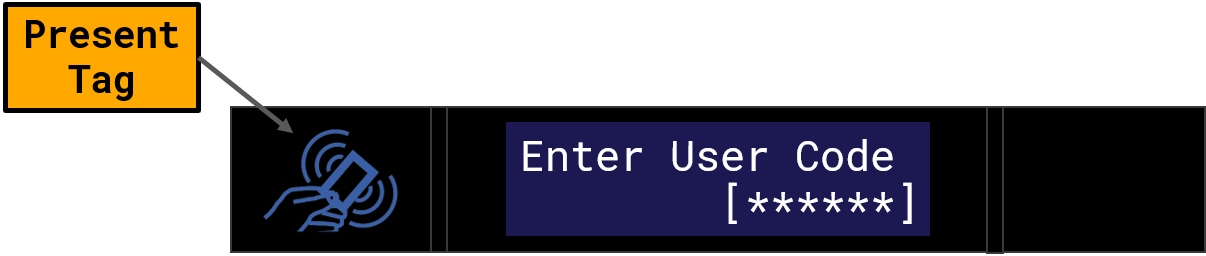
Present your new tag or enter a user code. Once you see [******] this means the tag has been read.
Press YES to continue.
![Enter your code or present your tag until `[******]` is displayed.](/help-images/add-a-new-tag-or-user-code-step-6.png)
Your keypad may be a different version. If this is the case please see the image below.
Step 7
Use LEFT and RIGHT arrows to choose between User and Manager. Press YES to continue.
In most cases, select User. Manager can be used to give manager privileges to the user
code/tag. For example, accessing the manager menu.

Step 8
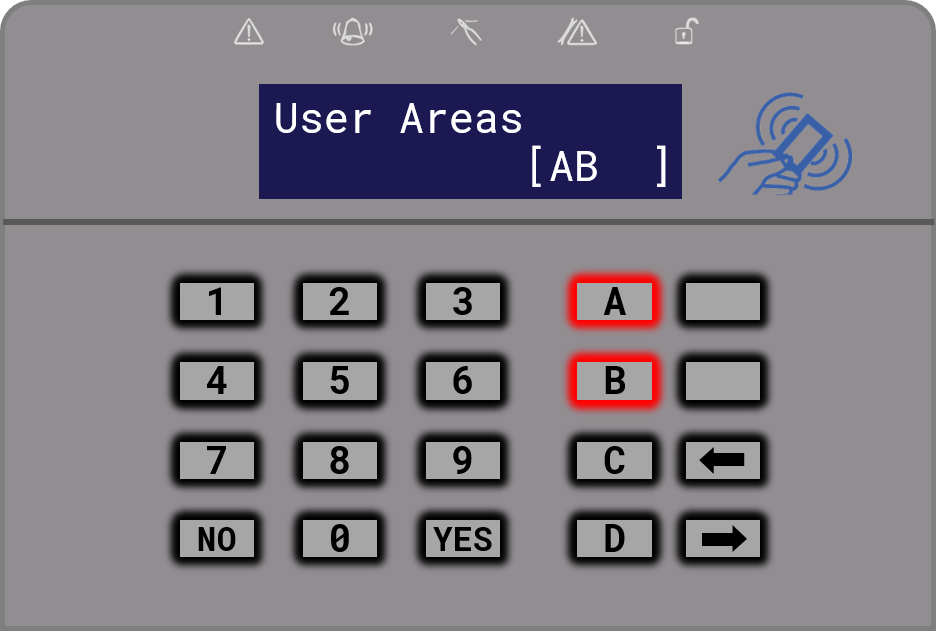
Select which areas will be applied to this user using the A B C D keys. Press YES to continue.
For example, if this user only needs to set/unset area A, make sure only the A key is lit up in red and shown on screen
Step 9
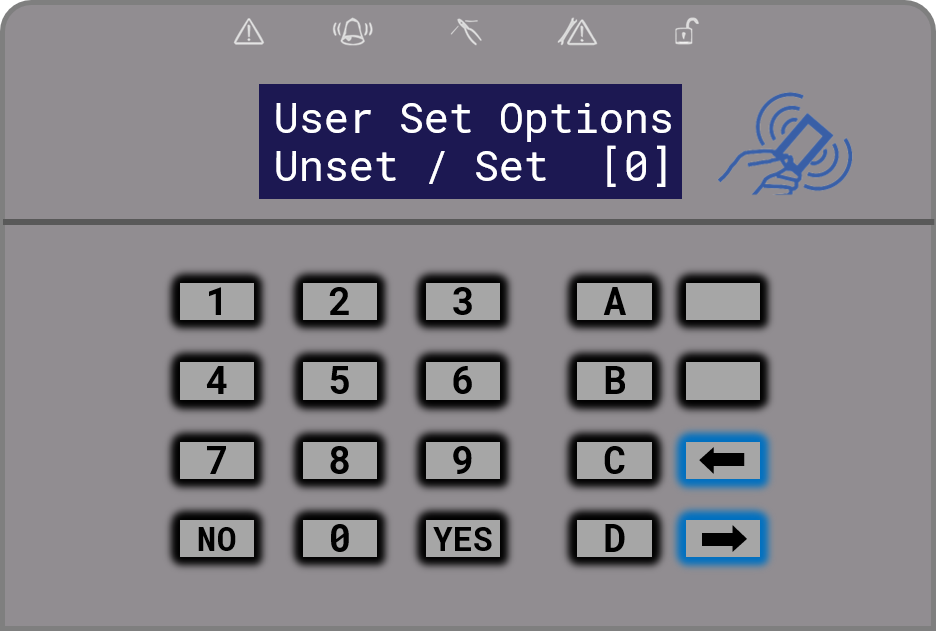
Use LEFT and RIGHT arrows to choose between Unset / Set, Unset Only, Set Only or None.
Press YES to continue.
In most cases, you want to keep this option on Unset / Set.
Step 10
Use LEFT and RIGHT arrows to enable or disable Flexi Set. Press YES to continue.
Flexi-set is the option to allow you to have access to set multiple zones. For example, if you want this user to be able to arm area A but also area B then you must have this enabled.

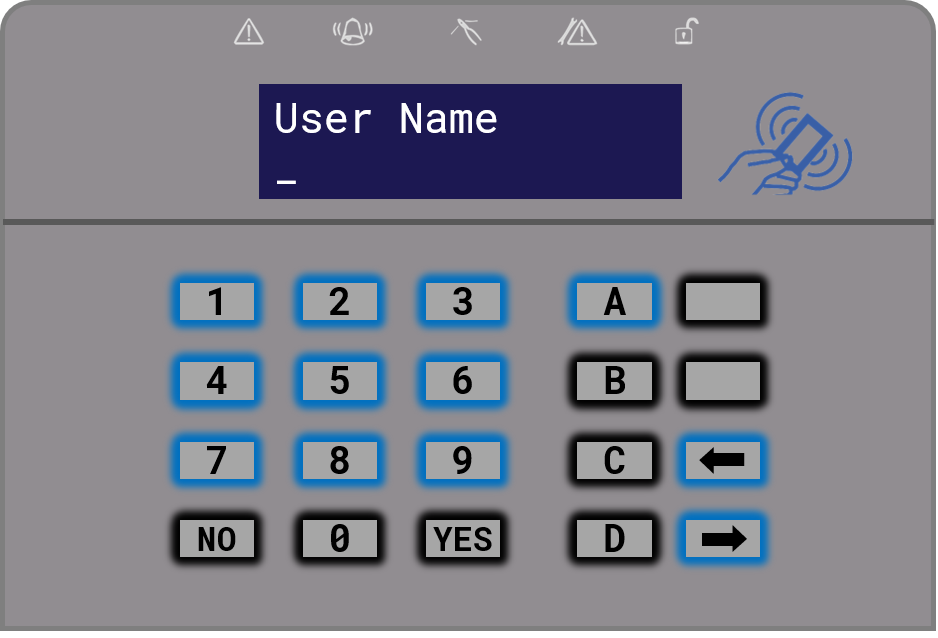
Step 11
Enter your user name using the alphanumeric keypad. You can use the LEFT and RIGHT arrows to move to the next space and use the A key to change from upper case to lower case (or vice versa). Select YES to continue.
Step 12
Click NO until you get back to EDIT UDERS?.
Step 13
Click A to save your settings. Your keypad will display Please Wait, Saving NVM Data.

Step 14
Your keypad will now go back to the main screen.